How To Draw A Car Accident?
Drawing a car accident can be an important skill for artists, illustrators, and storytellers. It helps capture a moment of chaos and conveys significant emotions associated with such events. In this guide, we will explore the techniques and steps to effectively draw a car accident scene. We’ll break down the process into manageable tasks, ensuring you can reproduce realistic and impactful imagery.
Understanding Composition for Drawing a Car Accident
To begin drawing a car accident, it’s essential to understand the composition of the scene. Composition refers to how the different elements within the artwork are arranged, influencing how viewers perceive the accident.
Identify Key Elements
The first step is identifying the key elements that should be included in your drawing:
- Vehicles Involved: Typically, at least two cars are present in a car accident scene.
- Damage Details: Show the extent of the damage on each vehicle, highlighting crumpled metal, broken windows, and other details.
- Background Elements: Include surroundings such as traffic signs, road markings, and nearby buildings for context.
- People: Add figures like drivers or bystanders to convey emotion and reaction.
- Environment: Depict weather conditions, time of day, and road type, which can enhance the scene’s realism.
Choosing the Right Angle
Your choice of angle can greatly impact the viewer’s perception of the accident. Consider the following perspectives:
- Side View: A side view emphasizes the collision impact between the vehicles.
- Top View: This angle gives an overview of the scene, allowing the viewer to see the positions of all elements.
- Angled Perspective: An angled perspective adds depth and dynamism, making the scene feel more dramatic.
Sketching the Outline of the Accident
After understanding the composition and choosing an angle, the next step is sketching the outline. This stage involves creating a rough draft of the scene.
Start with Basic Shapes
Begin by breaking down each vehicle and element into basic shapes:
- Rectangles: Use rectangles for car bodies.
- Circles: Employ circles for wheels and headlights.
- Lines: Utilize lines to indicate the direction of movement or skid marks.
Add Details Gradually
Once the basic shapes are in place, gradually add details:
- Vehicle Features: Outline windows, doors, and other distinct parts of the cars.
- Collision Impact: Indicate the deformation of metal, shattered glass, and smoke.
- Human Figures: If applicable, sketch simple human figures to represent emotions such as shock or concern.
Focusing on Realism in Your Drawing
To create a compelling and realistic depiction of a car accident, attention to detail is crucial. Here are steps to enhance realism:
Utilize Reference Images
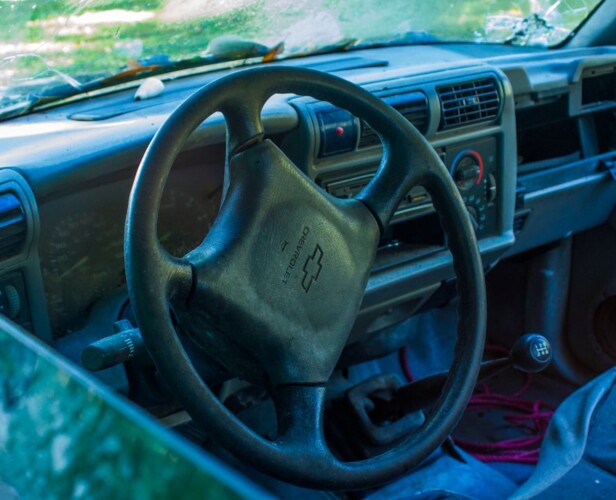
Gather reference images of real car accidents for inspiration. Look for:
- Various Angles: Ensure you have photos from different perspectives.
- Details of Damage: Focus on how real damage appears in accidents.
- Surrounding Environment: Observing how the setting reacts to the accident can inform your background choices.
Shading and Texturing Techniques
Implement shading and texture techniques to bring your drawing to life:
- Light Source: Determine where the light comes from in your scene to cast appropriate shadows.
- Texture Variation: Use different techniques (cross-hatching, stippling) to depict various materials like glass, metal, and asphalt.
- Color Choices: Select colors that reflect reality; consider the time of day you are depicting.
Adding Emotional Depth to the Scene
Capturing emotion in your car accident drawing can significantly enhance its impact. Consider the following techniques:
Facial Expressions
If you include people in your drawing, ensure their expressions convey the gravity of the situation:
- Shock: Wide eyes and open mouths.
- Concern: Furrowed brows and tight lips.
- Panic: Gasping or crying out in reaction.
Body Language
Body language can also express the emotional state of characters:
- Posture: Slumped shoulders indicate distress, while straightened arms might show urgency.
- Gestures: Hands raised or covering faces show surprise or fear.
- Movement: Illustrate figures running towards or away from the scene to indicate urgency.
Final Touches and Review
After completing your drawing, it’s crucial to review and refine your work. Here are final touches to consider:
Review Composition
Ensure your composition leads the viewer’s eye through the scene effectively:
- Leading Lines: Check if the lines guide the viewer to focal points.
- Balance of Elements: Ensure no one part overshadows the rest.
Seek Feedback
Consider seeking constructive feedback from peers or art communities. They may offer insights on aspects you might have missed.
Make Necessary Adjustments
Implement any necessary changes based on feedback to enhance clarity and impact:
- Enhance Light and Shadow: Adjust shading for improved depth.
- Correct Proportions: Fix any inconsistencies in size and scale.
Conclusion
Drawing a car accident requires a careful approach to composition, detail, and emotional expression. By following these steps and focusing on realism, you can create compelling artwork that resonates with viewers. Practice regularly and seek inspiration from real-life scenarios and reference materials to continuously